Table Of Content

To achieve this, try to imagine the actual texture of the hair when sketching and add the appropriate details. Alternatively, if you are drawing shorter, more textured hair, start with a few small, fine lines and add more details as you get closer to the scalp. Carefully observe your reference or imagine a light source in your artwork and add shadows accordingly. Shade the areas underneath the hair strands, near the scalp, and along the darkest parts of the waves. Use light strokes to blend the shading, creating a smooth transition from light to dark. Additionally, add highlights to the top and lighter areas of the hair using an eraser or white pencil.

STEP NO 01: BLOCK OUT THE SHAPE
Experimenting with these angles will help you determine which one best captures the essence of wavy hair. To blend and smudge your chosen medium for creating those soft transitions between waves, keep some blending tools handy. Blending stumps or tortillons work well with pencil drawings, while blending brushes are better suited for pastel techniques. First, start with high-quality drawing paper that is suitable for your chosen medium. A smooth surface will allow you to create fine details and capture the movement of the waves effectively. Finally, cross-hatching technique can be used for more defined strands of hair.
Tips and Tricks for Perfecting Your Wavy Hair Drawings
Don’t worry about making every wave perfect – this will add to the realism of the hair. Start by drawing the outline of the hair, using a light pencil for guidance. Be sure to vary the thickness of your lines to create the appearance of volume. To draw wavy lines with a pencil, you will need a piece of paper and a pencil.
What materials and tools are recommended for drawing wavy hair?
Using light and confident strokes, sketch the general flow of the hair starting from the roots to the ends. Drawing wavy hair can be a fun and challenging task for artists of all levels. By following the steps in this guide, you can learn how to draw wavy hair that is both beautiful and realistic.
Section 2.- How to Draw Curly Hair
Finally, to give your wavy female hair a more realistic and dynamic look, use your line work to create movement and movement to hair. Keeping the overall flow of your hair in mind, use your line work to direct the movement of your hair away or towards the scalp. In our latest blog post, we've got you covered with a popular technique to make your hair wavy in just a few simple steps. Discover how to create easy, tousled waves using either braids or a hot styling tool—curling wand or straightener—based on your preferences. We'll walk you through the entire process to help you embrace those effortless, envy-inducing waves that will turn heads wherever you go. To enhance the realism of your artwork, it’s important to pay attention to the positioning of highlights and shadows.
8 Best Curly Hairstyles for Men - Man of Many
8 Best Curly Hairstyles for Men.
Posted: Thu, 16 Nov 2023 08:00:00 GMT [source]
To understand the basics of hair texture, you’ll need to know how different types of hair can vary in thickness and shape. When it comes to wavy hair, it has a unique texture that falls between straight and curly. It is characterized by gentle waves that flow across the strands, creating a soft and romantic look.
Step-by-Step Guide on How to Draw Wavy Hair
In contrast to that, I will explain an easy approach to drawing hair that consists of four steps in the following tutorial. By following these guidelines, you will be able to create realistic Wavy hair without experiencing any stress or confusion. By adjusting the spacing and thickness of the lines, artists can achieve different levels of detail and texture in their drawings. There are a few things to keep in mind when drawing curly hair. First, curly hair is usually more voluminous than straight hair.
Art Activities For Kids
Waves are not static; they have a natural rhythm and flow that you want to capture in your drawing. While there are no shortcuts in art, practicing specific techniques can help you improve your wavy hair drawings. Experiment with various pencil pressures, strokes, and shading techniques to create different textures and depths in your artwork. Additionally, studying the work of other artists and learning from their methods can provide valuable insights and inspiration.
There is no easy answer to this question as it depends on the individual’s skill level and experience. However, in general, drawing anime can be quite challenging, especially if you are new to the art form. There are a few different ways to approach drawing bangs, and the best technique for you depends on the look you’re trying to achieve. Finally, add any details like highlights or shadows to complete the effect. We are going to draw the “steps” and work with a round hairline.
Remember to keep practicing and exploring different styles to further develop your artistic skills. Once you have drawn the individual strands, you can begin shading the hair to create depth and dimension. Start with a soft pencil and use light strokes to create shadows and highlights. To begin, you will need to draw the outline of the person’s head. Start by drawing the outline of the curls, and then add the detail inside the curls. Finally, add the finishing touches to the hair, such as highlights and shadows.
There’s got lots of different areas that you need to focus on. You must break it into sections rather than just doing it all in one go and doing the whole thing. Highlighted areas and to do this I’m using a Tombow mono eraser, it’s really helpful to get a lot of details. Like a comic honing his routine, the Democratic president has been testing and expanding his jokes over the past few weeks. The hair should be drawn to complement the facial features and not overpower them. For example, if the guy has a strong jawline, the hair should be drawn to accentuate that feature rather than cover it up.
By crisscrossing lines with different shades of color, you can create intricate patterns that mimic realistic hair texture. Another technique is called feathering, which involves lightly dragging the blending tool across the hair strands in the direction of their flow. This technique adds subtle texture while maintaining a seamless look.
This is a very basic, step by step wavy hair drawing tutorial. I will guide you through the process of drawing wavy hair with simple instructions. If you can draw an oval and a few curved lines, then you can draw wavy hair. To create depth and dimension in your wavy hair drawing, it’s crucial to add shadows and highlights. Observe the reference image again and identify the areas where the hair appears darker due to shadows and lighter due to highlights.
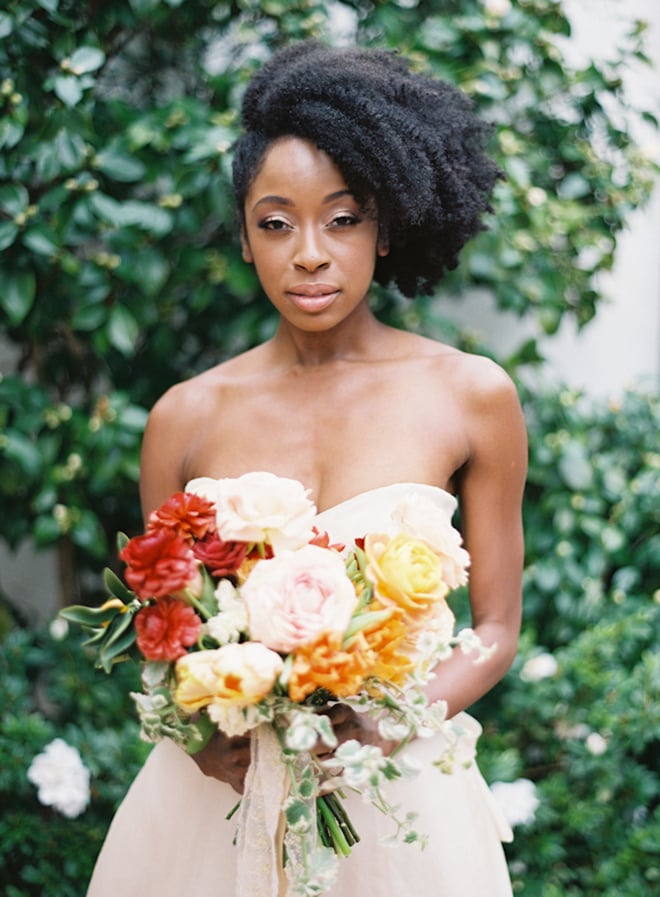
There is no one way to draw an Afro hair, as the look can vary dramatically from person to person. However, there are some general steps that can help you create a realistic and flattering Afro hairstyle. This should be a simple outline of the shape and direction of the hair. Finally, it’s important to take into account the overall hairstyle. The hair should be styled in a way that looks natural and believable.
For some reference images, using only one of the methods might work, I still like to change it up a bit so the illustration feels more natural. For this, I’ll take this reference image from the reference image folder I created for this tutorial. So by combining methods of drawing, you’ll be able to make a more realistic looking hair.
Use several short, curved strands to give it a bit more volume but keep it close to the head. Again, with your mechanical pencil or your 4B pencil, mark the hairline position very softly. Hair is so different from each other that using the same technique for every type of hair would be impossible. Each type needs its own technique, and some are easier and simpler while others take a long time to do.